
 English
 Español
 عربى


Content
- 1 Signs That Tell You the Clutch Needs Adjustment
- 2 Free Play: The One Number That Matters
- 3 Step-by-Step: Adjust the Clutch at the Lever Perch
- 4 Adjusting the Clutch Actuator at the Engine
- 5 The Mid-Cable Barrel Adjuster
- 6 Six Mistakes Riders Make When Adjusting a Clutch
- 7 When Adjustment Is Not Enough
- 8 Cable Clutches vs Hydraulic Clutches
- 9 Frequently Asked Questions
- 9.1 How much free play should a motorcycle clutch lever have?
- 9.2 Which way do I turn the clutch adjuster to add free play?
- 9.3 Why does my clutch still slip after I adjusted the free play?
- 9.4 Can a motorcycle cylinder affect clutch feel?
- 9.5 Do I need to adjust the clutch after replacing the cylinder or doing top-end work?
- 9.6 How often should I check clutch free play?
- 9.7 Is it safe to ride with a misadjusted clutch?
- 9.8 Why does my clutch engage very close to the bar?
- 10 Ten-Minute Clutch Adjustment Checklist
Adjusting a motorcycle clutch rarely requires a full teardown. For most cable-actuated bikes, the entire job comes down to measuring and restoring 10-20 mm (0.4-0.8 in) of free play at the outer tip of the clutch lever, then locking the adjusters back down. A correctly adjusted clutch bites smoothly, shifts cleanly, and holds firm under full throttle. A misadjusted one drags, clunks, or slips exactly when you need it most.
The common assumption is that a tighter cable gives better clutch feel. It does the opposite. Too little slack holds the clutch release mechanism slightly open, which makes the clutch drag, makes neutral hard to find, and overheats the friction plates. Too much slack lets the cable move a long dead distance before the clutch begins to release, which shortens the effective stroke and encourages clutch slip under acceleration. Adjustment is therefore about restoring the clearance the clutch pack needs to close fully when you let the lever out.
You have two main adjustment points on nearly every cable-clutch motorcycle: the knurled thumbwheel and locknut at the lever perch, and a slotted screw with a locknut under a small inspection cover on the crankcase. Some bikes add a barrel adjuster along the cable. Work from the lever first, reset the lever when you run out of thread, then adjust at the engine side. That sequence is standard across small commuters, dual-sport bikes, and large-capacity twins. A motorcycle cylinder manufacturer that has built engine parts since 1992 will tell you the same thing: the adjustment hardware is similar everywhere, but the exact numbers for your model belong in its service manual.
Before you start, gather a 10 mm ring spanner, a small flat-blade screwdriver, and optionally a torque wrench. A feeler gauge helps if you want to fine-tune the actuator, but it is not essential. Most clutch adjustments can be completed in under ten minutes with the engine cold.
Signs That Tell You the Clutch Needs Adjustment
Before opening any adjuster, confirm that the problem is actually clutch-related. The table below lists the four complaints riders usually notice first, along with the likely cause and the correct response.
| Symptom | What you feel | Most likely cause |
|---|---|---|
| Slip under acceleration | Engine RPM climbs in 3rd-5th gear without matching road speed, especially uphill | Free play too large, cable too slack, or worn friction plates |
| Drag and hard shifting | Clunk when selecting first gear, difficult to find neutral at a stoplight | Free play too small, cable too tight, or actuator pre-loaded |
| Late engagement | The clutch bites only near the very end of the lever stroke | Stretched cable, or actuator clearance no longer correct |
| Stiff lever | More pull effort than normal, lever feels gritty or notchy | Dry or kinked cable, incorrect routing, or corroded inner wire |
One trap is worth naming: a weak engine can impersonate a slipping clutch. When the cylinder bore and piston rings are worn, compression drops, power flattens out, and the engine revs freely without pulling the bike forward, particularly at highway speeds. Riders frequently spend money on a clutch kit when the real fault is a tired top end. If a compression test shows low numbers on the affected cylinder, a fresh cylinder and piston assembly is the part that restores acceleration, and the clutch can be judged honestly afterward.
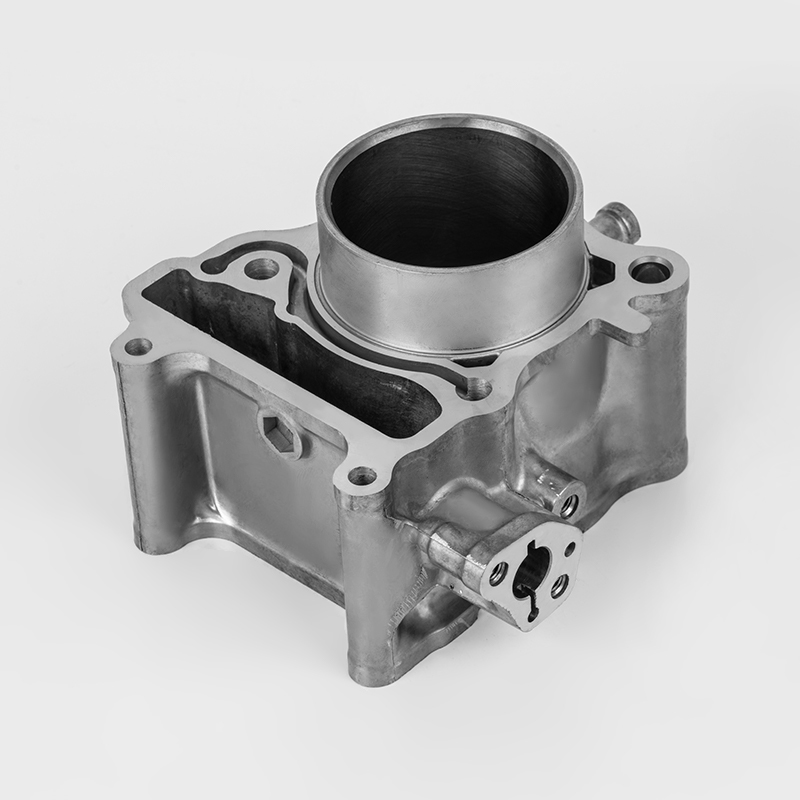
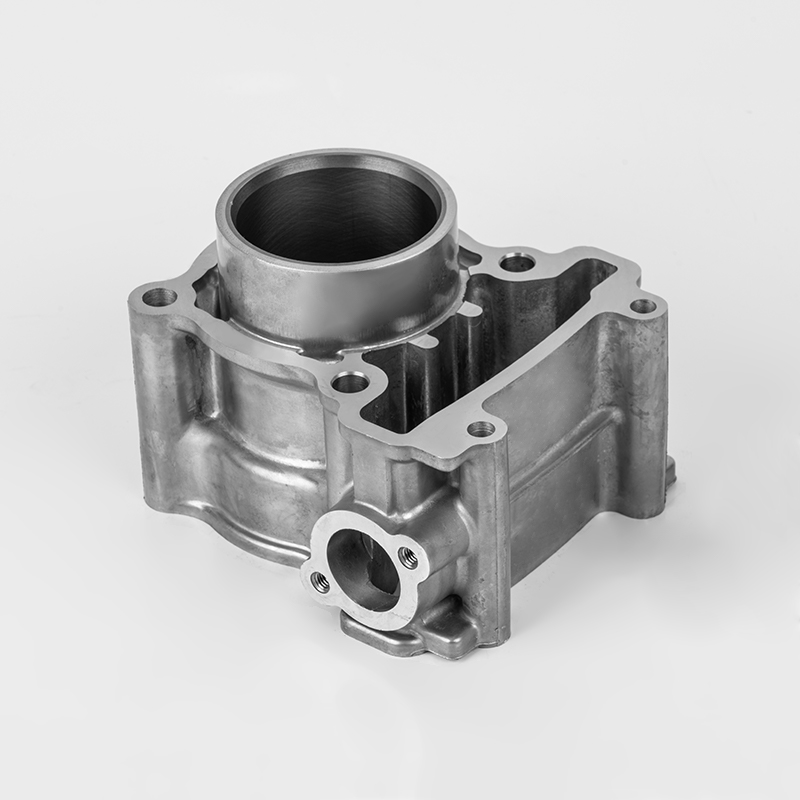
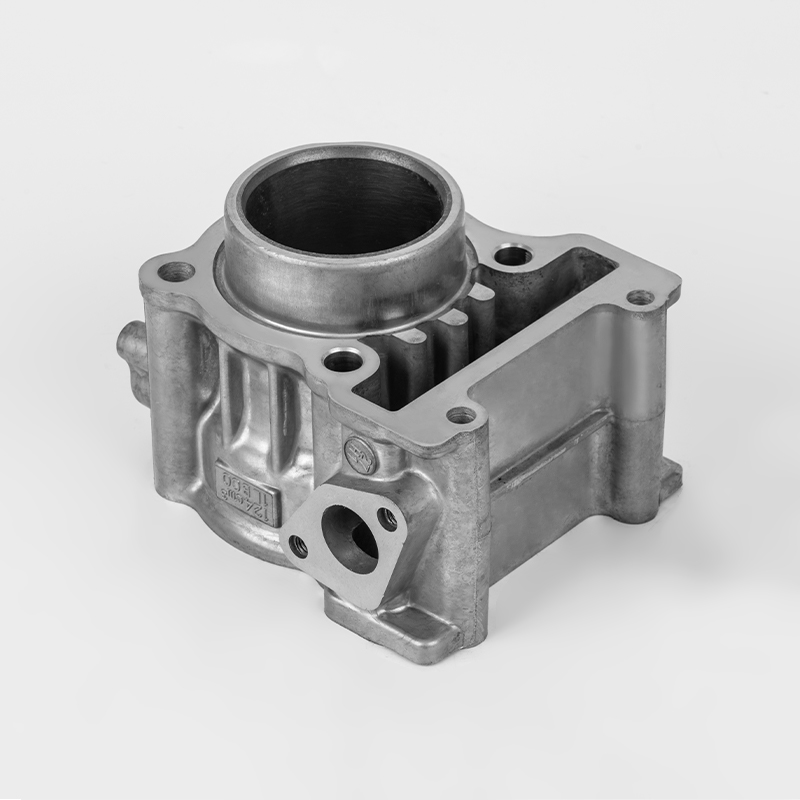
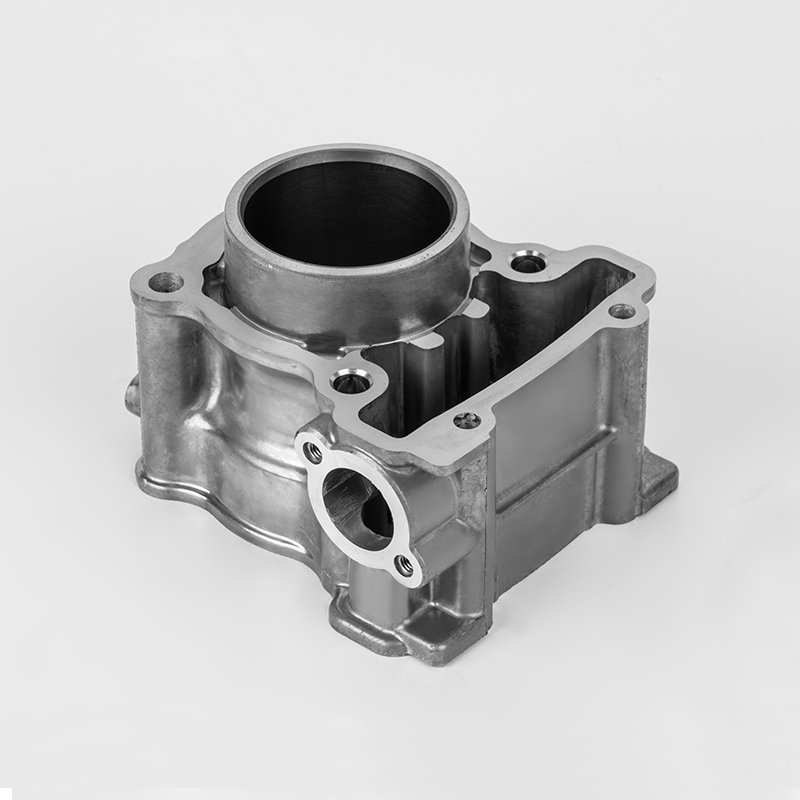
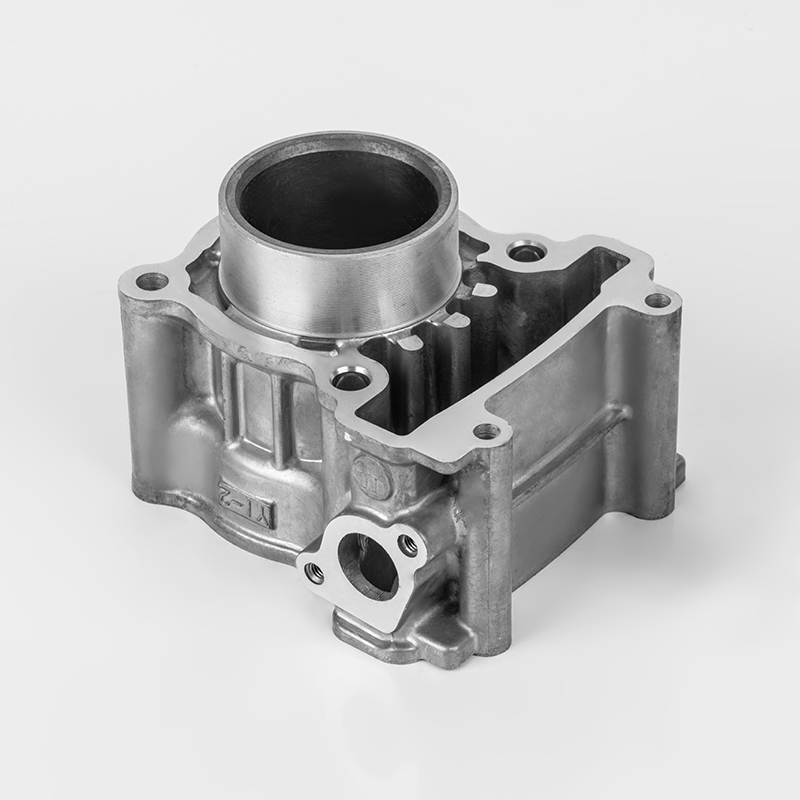
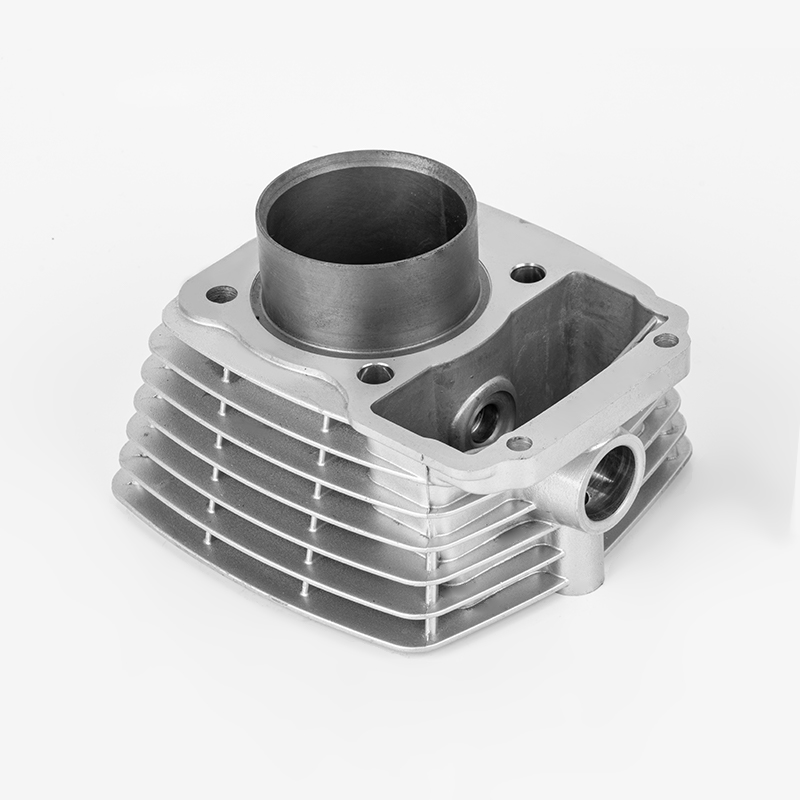 Honda CG125 56.5mm Die-Cast Aluminum Cylinder AssemblyWhen compression loss mimics a slipping clutch, this precision die-cast cylinder restores factory compression and true acceleration, allowing you to evaluate the clutch honestly afterward.View Product →
On a small single like the Honda CG125, for example, the 56.5 mm die-cast aluminum cylinder is a direct replacement that brings compression back to spec range. Deal with the engine side first, then re-check the clutch; you will often find that a marginal adjustment was only noticeable because the motor was down on torque.
Free Play: The One Number That Matters
Free play is the distance the lever travels before you feel resistance. With the engine off, pull the lever gently until the cable just tightens; do not twist the throttle and do not yank the lever. Measure at the outer tip of the lever, because that is where your fingers work and where most manufacturers quote the specification.
| Measurement point | Common operating range |
|---|---|
| At the lever tip | 10-20 mm (0.4-0.8 in) |
| At the lever pivot | 2-3 mm |
| Actuator arm movement before resistance | 2-4 mm |
These figures are the workshop norm found across OEM service manuals for small and mid-capacity motorcycles. They are not a reason to skip the manual. Some light off-road machines run as little as 8 mm at the tip because their clutch packs are small and stiff, while some cruisers and touring bikes with long levers run 20-25 mm because of the mechanical leverage involved. The exact number is usually printed on a decal near the clutch perch or in the service manual. When in doubt, set 15 mm at the tip and ride; then move the engagement point toward or away from the bar based on how it feels.
A practical trick used by old-school mechanics is the two-finger rule: with two fingers placed flat between the lever tip and the grip, the lever should just touch those fingers before resistance builds. That rough check equals roughly 10-15 mm for an average hand, which is close enough to confirm that something has changed out on the road. Always confirm with a ruler or vernier caliper when you are back in the workshop.
Free play also changes as components wear. A brand-new cable stretches slightly in the first 1,000 km. A clutch pack that is slowly wearing thin takes up slack by itself, which is why the engagement point creeps closer to the bar over time. Neither condition means parts are failing; both mean the adjuster settings need attention.
Step-by-Step: Adjust the Clutch at the Lever Perch
Start here every time. The lever perch adjuster is the finest and easiest control available; it handles routine cable stretch with millimeter precision and needs no special tools. In practice, it resolves roughly 90 percent of clutch adjustment complaints on cable bikes.
- Roll the rubber dust boot back from the knurled adjuster at the lever perch.
- Loosen the small locknut, usually 10 mm, while holding the knurled adjuster in position so it does not rotate with the nut.
- Turn the knurled adjuster outward, away from the perch, to increase free play; turn it inward, toward the perch, to reduce free play. One full flat of the knurled wheel typically changes free play by roughly 0.5-1 mm at the lever tip.
- Pull the lever with the engine off and measure free play at the tip. Adjust until the travel sits inside the manual's range, ideally close to the middle of the range.
- Hold the adjuster steady, tighten the locknut to roughly 5-8 Nm, then re-measure. Tightening the nut can rotate the adjuster slightly, so the second measurement is not optional.
- Slide the rubber boot back over the threads. Check that the handlebar turns through full lock without pulling the cable tight or changing lever feel.
If the knurled adjuster runs out of thread before you reach the target, back it off completely to the neutral position and work from the engine-side actuator. Forcing the perch adjuster to the end of its travel leaves only a few threads engaged, which is a safety risk and a common cause of adjusters that loosen themselves mid-ride.
Adjusting the Clutch Actuator at the Engine
The engine-side adjuster sets the base position of the pushrod or actuating arm. It is the coarse adjustment, and it should be reset whenever a new cable is fitted, after a clutch replacement, or when the lever adjuster alone cannot achieve the correct free play. Most motorcycles house this adjuster behind a small round cover on the crankcase; remove one or two screws to expose a slot-head screw and a locknut.
- Remove the inspection cover. Keep the cable end attached if possible; you are setting the internal clearance first, then the cable tension.
- Hold the adjuster screw with a screwdriver and loosen the locknut with a 10 mm spanner.
- Turn the screw clockwise until it just seats against the pushrod. Seating means firm fingertip resistance, not heavy torque.
- Back the screw out 1/4 to 1/2 turn. This creates the small internal clearance that keeps the clutch release mechanism from being pre-loaded when the lever is released.
- Hold the screw so it cannot rotate, tighten the locknut to the torque given in your manual, typically 8-12 Nm, and refit the cover.
- Return to the lever perch and finalize the free play at the lever tip, because the cable adjustment interacts with the actuator setting.
Do not turn the screw more than about one full turn past the seating point. The adjustment range is deliberately small. If you feel grinding, galling, or unusual resistance, stop and inspect the actuator for a worn pushrod, a damaged ramp, or debris inside the cover.
Some motorcycles use a worm gear or ball-ramp actuator instead of a simple screw and pushrod. The procedure is conceptually the same: establish a zero point where the mechanism just touches, back off a small fixed amount, and lock everything down. Never force a screw that seems to have no travel; check the parts diagram in the manual if the mechanism feels unfamiliar.
The Mid-Cable Barrel Adjuster
Many dual-sport, adventure, and utility motorcycles add a threaded barrel adjuster somewhere along the outer cable, often under the fuel tank, behind the headlight, or next to the frame downtube. It performs exactly the same job as the perch adjuster, but with larger correction range and coarser steps.
Use the barrel adjuster only when both the perch adjuster and the engine-side adjuster are near their limits, or when the perch is hard to reach on a crowded handlebar. Turning the barrel one way lengthens the cable housing and adds free play; turning it the other way shortens the housing and removes slack. Always keep the rubber seals covering the threaded barrel so dirt and water stay out.
If the barrel is unscrewed almost all the way and the free play is still wrong, stop treating the problem as an adjustment. A cable that has stretched past the range of all three adjusters has reached the end of its service life. Stacking extra shims or tying the cable together is a tow waiting to happen; replace the cable.
Six Mistakes Riders Make When Adjusting a Clutch
- Setting zero free play for an instant engagement point. You end up with a tiny friction zone, abrupt downshifts, and accelerated plate wear. Free play exists to let the clutch pack breathe.
- Always adjusting only at the lever. If the engine-side actuator was disturbed during a cable replacement or clutch service, the lever adjuster will fight you and the engagement feel will stay inconsistent no matter how precisely you set it.
- Skipping the locknut torque. A loose locknut lets the adjuster rotate while you ride. On the highway, the cable slowly unwinds, free play grows, and the clutch begins to slip at speed.
- Adjusting the clutch when the engine oil is old. Additive depletion and heavy contamination change the friction behavior of the clutch pack. The clutch slips, the adjusters cannot fix it, and the correct first step is an oil and filter change.
- Treating a hydraulic clutch like a cable clutch. Hydraulic systems self-compensate for clutch pack wear; if the lever feel becomes inconsistent, the fix is bleeding the system or rebuilding the master and slave cylinders, not hunting for an adjuster that does not exist.
- Confusing the reach adjuster with the free play adjuster. The dial at the lever pivot changes how close to the bar the lever sits, not how much slack the cable has. Set reach for your hand size first, then measure free play.
One more note: always adjust a cold clutch. A warm engine and warm clutch pack introduce thermal expansion that changes clearances slightly. Setting the free play on a hot engine gives you a cold-start drag and vague engagement the next morning.
When Adjustment Is Not Enough
You have set the perch, sorted the actuator, and confirmed that free play sits inside the spec range. The clutch still slips, drags, or shudders. That is the moment to move from tuning to diagnosis.
Worn or glazed friction plates
Once the clutch cover is off, measure the fiber plate thickness with a caliper. If any plate is below the service limit printed in the manual, replace the full set; mixing new and old plates makes engagement grabby because friction coefficients differ. Steel plates should be checked for flatness on a piece of glass or a known-flat granite slab. Glazed friction plates, identifiable by a shiny varnished surface, cause judder when pulling away; light sanding with 120-240 grit paper can extend their life, but glazing usually returns unless oil condition and riding habits change.
Notched clutch basket
The tabs on the friction plates ride in slots on the clutch basket. With age, those slots develop notches. The plates then catch and release roughly, causing drag that no adjuster can remove. Filing the notches smooth is a temporary repair; replacing the basket is the lasting one.
Stretched cable
When both adjusters reach their limits and free play continues to grow, the cable has stretched past its service window. A new clutch cable is inexpensive compared to the cost of being stranded. Replace the inner and outer together, lube the new cable, and then set the actuator and perch adjustments from scratch.
Engine condition that looks like clutch slip
If compression is low because the cylinder bore is worn or the rings are stuck, the engine cannot convert its fuel into forward thrust. The sensation is close to clutch slip: revs climb, road speed lags, and the machine feels flat on hills. In many workshops, the diagnosis starts with a compression test before anyone pulls the clutch cover. A high-mileage single that fails compression often responds to replacing the motorcycle cylinder and piston; once compression is restored, the original clutch adjustment suddenly feels normal again.
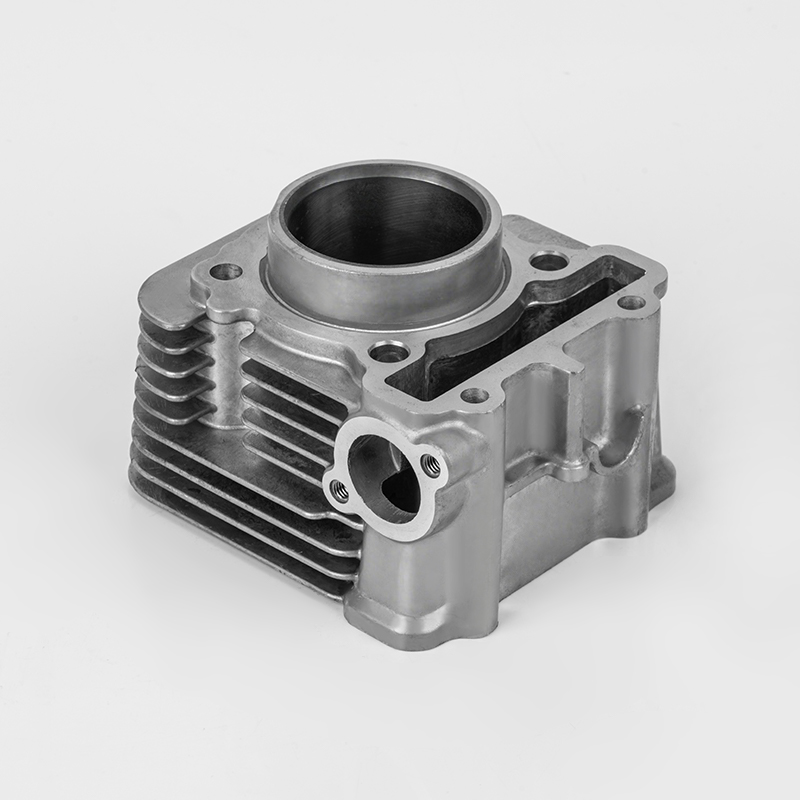
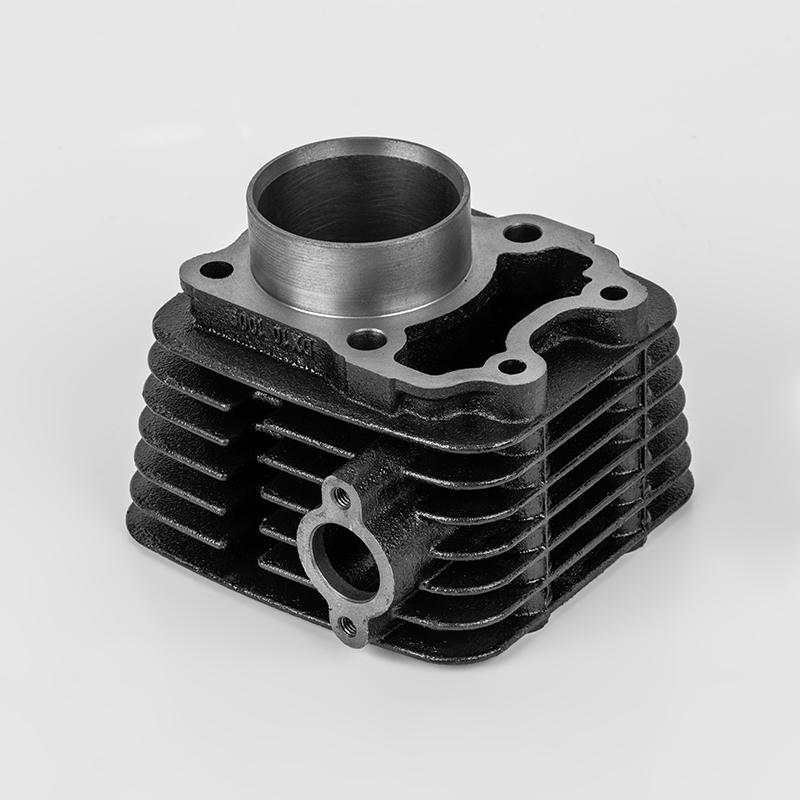 Bajaj CT100 53mm Cast Iron Motorcycle CylinderA direct-fit cast iron bore that preserves the original engine character while restoring sealing, with pre-matched piston clearance to simplify a top-end refresh.View Product →
On a small commuter such as the Bajaj CT100, the original cast iron cylinder is heavy but durable; a precision replacement iron bore keeps the same character while restoring sealing. The catalog includes the CT100 series with the piston clearance matched to the 53 mm bore, which removes the guesswork from a top-end refresh.
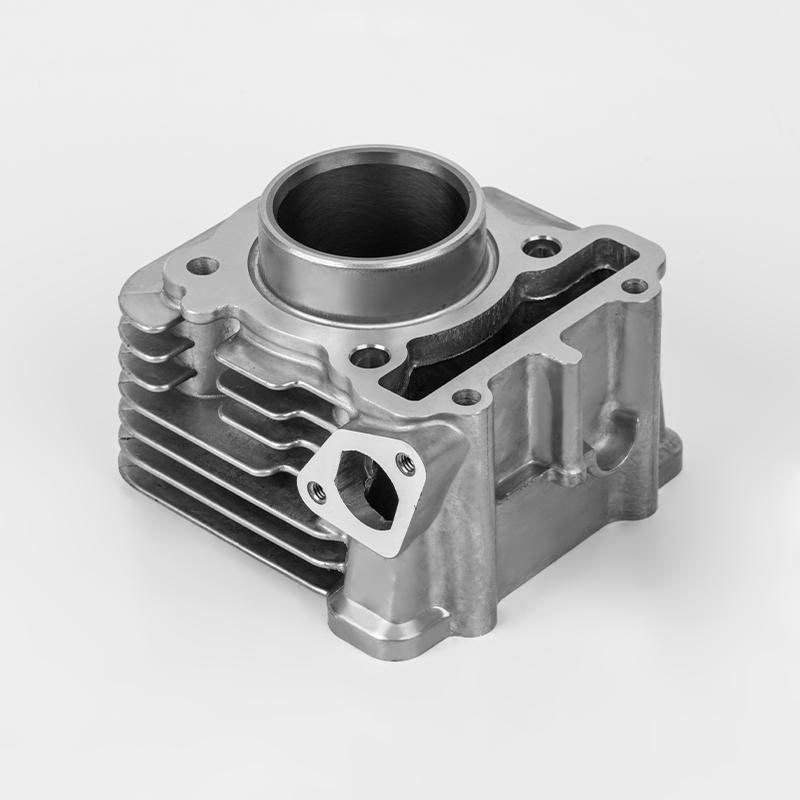
 Suzuki AX100 50mm Aluminum Cylinder UpgradeA lighter aluminum barrel that improves handling and dissipates heat faster than iron, ideal for performance upgrades on the AX100 single-cylinder platform.View Product →
For a Suzuki AX100, a lighter aluminum cylinder is a common upgrade path: lower weight improves handling and the alloy casting dissipates heat faster than an old iron barrel. After any top-end installation, re-check clutch free play because a freshly honed bore and new rings produce noticeably more torque as they seat, and a marginal clutch adjustment will show up within the first few rides.
For budget planning, compare the cost of components before deciding: a replacement clutch cable typically sells for US$15-40, a friction plate set for a small single runs US$50-150, and a quality aftermarket cylinder sits between US$40-120 depending on material and brand (typical 2026 aftermarket parts pricing across major U.S. and EU retail platforms). A compression test and a visual clutch inspection usually make the choice obvious.
Cable Clutches vs Hydraulic Clutches
Most motorcycles below 500 cc still use a cable-actuated clutch because it is light, inexpensive to manufacture, and delivers direct feel. Hydraulic clutches eliminate the cable and with it the need for manual free play adjustment; they compensate automatically as the clutch plates wear, and the only routine service is fluid level inspection and occasional bleeding.
| System type | Adjustment needed | Usual service |
|---|---|---|
| Cable clutch | Manual free play, commonly 10-20 mm at the lever tip | Lube cable annually, inspect routing, replace if stretched |
| Hydraulic clutch | None; self-adjusting for clutch wear | Check fluid level, bleed if spongy, replace seals if leaking |
If a hydraulic clutch lever slowly drifts closer to the bar, suspect air in the line, a leaking slave cylinder seal, or a failing master cylinder, not an adjuster. Bleeding the system is the first repair to try, and a seal kit is the second.
Frequently Asked Questions
How much free play should a motorcycle clutch lever have?
For most cable-actuated motorcycles, 10-20 mm at the outer tip of the lever, which equals 2-3 mm at the pivot, is the working range. The exact figure for your model is in the service manual or on a decal near the clutch perch. If the manual specifies 15 mm, set 15 mm rather than relying on the vague "two fingers" rule.
Which way do I turn the clutch adjuster to add free play?
At the lever perch, turn the knurled adjuster outward, away from the perch, to add slack and increase free play; turn it inward to reduce free play. At the engine, seat the adjuster screw gently, then back it out 1/4 to 1/2 turn to create clearance. Make one flat of change at a time and re-measure.
Why does my clutch still slip after I adjusted the free play?
Either the free play is still too large, the cable is stretched beyond the adjustment range, or the friction plates are worn past the service limit. Check the lever spec first, then verify cable travel, then inspect the plates. Oil-related slip is also common: old oil or oil carrying excessive friction modifiers will make even a new clutch slip regardless of adjustment.
Can a motorcycle cylinder affect clutch feel?
Indirectly, yes. A worn cylinder and piston reduce compression, which lowers torque output. The rider perceives a weak engine as clutch slip because RPM climbs while the bike gains speed slowly. A compression test tells you whether the fault is in the top end or the clutch. The cure is often a fresh cylinder kit rather than a clutch rebuild.
Do I need to adjust the clutch after replacing the cylinder or doing top-end work?
Yes. Any major engine service changes how torque is delivered and can expose a marginal clutch adjustment. After the engine has run and the rings have started seating, re-measure the free play, because new components and a freshly routed cable can shift the numbers slightly.
How often should I check clutch free play?
A practical interval is every oil change, or about every 3,000-5,000 km for city motorcycles and 8,000-10,000 km for touring bikes, as most OEM maintenance schedules suggest. If you ride daily, ride off-road, or track the bike, inspect the clutch free play at least twice a season.
Is it safe to ride with a misadjusted clutch?
A dragging clutch makes slow-speed maneuvering dangerous because the bike surges when you select first gear, especially in traffic. A slipping clutch reduces control under hard acceleration and can overheat the friction plates. Neither is a ride-forever condition, and both are usually fixed in ten minutes with a single spanner.
Why does my clutch engage very close to the bar?
That usually means the free play has shrunk, the cable is too tight, or the clutch pack has worn and the actuating arm is sitting at a changed angle. Reset the lever and actuator to spec first; if the engagement point stays at the bar edge, inspect the clutch stack for wear instead of over-correcting the cable.
Ten-Minute Clutch Adjustment Checklist
- Measure free play at the lever tip before touching any adjuster.
- Adjust at the lever perch first, keeping the knurled adjuster inside its thread range.
- If the lever cannot reach spec, reset it, then adjust the engine-side screw to a seating point backed off 1/4 to 1/2 turn.
- Torque both locknuts, then pull the lever slowly to confirm smooth and consistent resistance.
- Lubricate the cable with a dry PTFE lube or a cable oiler, and check routing at full handlebar lock.
- Ride and re-check after 20 km; fresh cable stretch and settling parts change free play slightly.