
 English
 Español
 عربى
عربى

Content
- 1 The Short Answer: How to Adjust a Motorcycle Clutch
- 2 Why Proper Clutch Adjustment Matters More Than Most Riders Think
- 3 Tools and Preparation Before You Start
- 4 Step-by-Step: Adjusting a Cable-Operated Clutch
- 5 Adjusting a Hydraulic Clutch: What You Can and Cannot Do
- 6 How the Motorcycle Cylinder Connects to Clutch Performance
- 7 Common Clutch Adjustment Mistakes and How to Avoid Them
- 8 Clutch Adjustment Intervals: How Often Should You Check It
- 9 Signs That Adjustment Alone Is Not Enough
- 10 Adjusting the Clutch on Specific Motorcycle Types
- 11 Quick Reference: Clutch Adjustment Symptoms and Solutions
- 12 Final Checks and Long-Term Clutch Care
The Short Answer: How to Adjust a Motorcycle Clutch
Adjusting the clutch on a motorcycle comes down to setting the correct free play at the lever — typically 2 to 3 mm of free movement before resistance is felt — and ensuring the cable or hydraulic system is properly tensioned so the clutch plates fully engage and disengage. When this is done correctly, you get smooth power delivery, predictable engagement, and no slipping or dragging. If the adjustment is off by even a small margin, it affects not just ride comfort but also the long-term health of the motorcycle cylinder and engine internals.
Most motorcycles use either a cable-operated clutch or a hydraulic clutch. Cable systems are more common on older and mid-range bikes and are fully adjustable by hand. Hydraulic systems, found on many modern sport and adventure bikes, are largely self-adjusting but still require periodic inspection. Both types connect the lever to the clutch basket, which sits near or on the engine cases — directly tied to the health and performance of the motorcycle cylinder assembly.
Why Proper Clutch Adjustment Matters More Than Most Riders Think
Many riders treat clutch adjustment as a minor maintenance item, but incorrect adjustment causes a chain reaction of mechanical problems. A clutch that drags — meaning it does not fully disengage — forces the transmission to work against a partially engaged drivetrain every time you shift gears. This increases wear on the gearbox, clutch basket, and friction plates, and in more serious cases creates heat buildup that radiates toward the motorcycle cylinder.
Conversely, a clutch with too much free play may slip under load. When the clutch slips, the friction plates are partially contacting but not fully locked together, which generates enormous heat within the clutch pack. That heat has nowhere to go except into the engine oil and the surrounding engine casing. Studies on clutch wear patterns show that clutch slippage at high RPM can raise local oil temperatures by 20–35°C compared to normal operating conditions — temperatures high enough to degrade oil viscosity and accelerate wear on cylinder walls and piston rings.
The connection between clutch health and the motorcycle cylinder is not abstract. The clutch assembly on most engines is oil-bathed, meaning the same engine oil that lubricates the cylinder bore and piston also circulates through the clutch. Contaminated or overheated oil from a slipping clutch passes directly through the oiling system, reaching the cylinder liner and contributing to bore wear over time.

Tools and Preparation Before You Start
Before adjusting the clutch, gather a few basic items. Having the right tools on hand prevents mid-job interruptions and reduces the risk of damaging adjustment hardware.
- A set of combination wrenches (commonly 8mm, 10mm, or 12mm depending on the bike)
- A ruler or feeler gauge for measuring lever free play
- Needle-nose pliers for cable routing if needed
- Cable lubricant spray for cable-operated systems
- Your motorcycle's service manual for model-specific specifications
- Rags or a drip tray if you plan to inspect the clutch cover or oil level
Always perform clutch adjustment with the engine cold or at operating temperature depending on what your service manual specifies. Some manufacturers recommend checking free play when the engine is warm because cable length changes slightly with heat. For most standard bikes, a cold check is acceptable for initial adjustment.
Place the bike on its center stand or a paddock stand to keep it stable. Ensure the motorcycle is on level ground. Check the current free play at the lever before touching anything — this baseline tells you how far out of specification the clutch currently is and helps you understand the adjustment range you are working within.
Step-by-Step: Adjusting a Cable-Operated Clutch
Cable clutch systems have two adjustment points: one at the lever perch near the handlebar, and one at the engine end where the cable meets the clutch mechanism. Always start with the lever-end adjuster for minor corrections, and use the engine-end adjuster for larger corrections or when the lever adjuster has reached its limit.
Step 1: Check Current Free Play
Press the clutch lever gently with your fingertip from its resting position. Measure the distance the lever travels before you feel firm resistance. Most manufacturers specify 2 to 3 mm, though some sport bikes allow up to 5 mm and some classics specify as little as 1.5 mm. Check your service manual for the exact figure. If the lever has more than 5 mm or less than 1.5 mm, adjustment is needed.
Step 2: Use the Lever Adjuster for Minor Corrections
Locate the barrel adjuster at the lever perch — it is the cylindrical fitting where the cable exits the lever housing. Loosen the locknut (usually by turning counterclockwise). To increase free play, thread the adjuster inward (clockwise). To decrease free play, thread it outward (counterclockwise). Make adjustments in small increments, checking free play after each quarter turn. Once satisfied, tighten the locknut while holding the adjuster in place.
Step 3: Use the Engine-End Adjuster for Larger Corrections
If the lever adjuster is fully extended or bottomed out, reset it to the middle of its range and move to the engine-end adjuster. This is typically located where the cable meets the clutch arm on the engine case, near the motorcycle cylinder base or primary cover. Loosen the locknut, make your adjustment, and retighten. Follow the same process of small incremental adjustments and rechecking free play.
Step 4: Verify Engagement and Disengagement
Start the engine and let it idle. Pull the clutch lever fully in and select first gear. The bike should not creep forward. Release the lever slowly — the bike should begin to move smoothly without jerking or slipping. If it creeps with the lever in, the clutch is dragging and needs less free play. If it lurches when released, engagement is too abrupt and more free play is needed.
Step 5: Lubricate the Cable
While the cable end is accessible, apply cable lubricant to prevent fraying and reduce lever effort. A stiff or dry cable requires more finger force to operate, leading to hand fatigue on longer rides. A properly lubricated cable also responds more consistently to fine adjustment, which helps maintain accurate clutch engagement across the full lever travel range.
Adjusting a Hydraulic Clutch: What You Can and Cannot Do
Hydraulic clutch systems use fluid pressure rather than a mechanical cable to transmit lever input to the clutch. These systems are largely self-adjusting because the fluid is incompressible and maintains consistent pressure as the clutch wears. However, they still require attention and have specific points of manual adjustment.
Lever Reach Adjustment
Most hydraulic levers have a reach adjuster — a small dial or screw that moves the lever closer to or further from the handlebar. This does not change the actual hydraulic engagement point but affects rider ergonomics and hand positioning. Set it so the lever falls naturally under your fingers when your hand is relaxed on the grip.
Fluid Level and Condition
The most critical maintenance item on a hydraulic clutch is the fluid. Most systems use DOT 4 brake fluid. Check the reservoir level — it should be between the MIN and MAX marks. Low fluid can indicate a leak in the master cylinder or slave cylinder, or it may simply reflect normal pad wear over time. Hydraulic clutch fluid should be replaced every 2 years regardless of appearance, as it absorbs moisture over time, lowering its boiling point and making the lever feel spongy.
Bleeding the System
If the lever feels spongy or engagement is inconsistent, air has entered the hydraulic line. Bleed the system using the bleed nipple on the slave cylinder, which is typically located on the engine case near the clutch cover. Attach a bleed hose, open the nipple, and slowly pump the lever until no air bubbles appear in the expelled fluid. Refill the reservoir as needed and close the nipple before the reservoir runs dry.
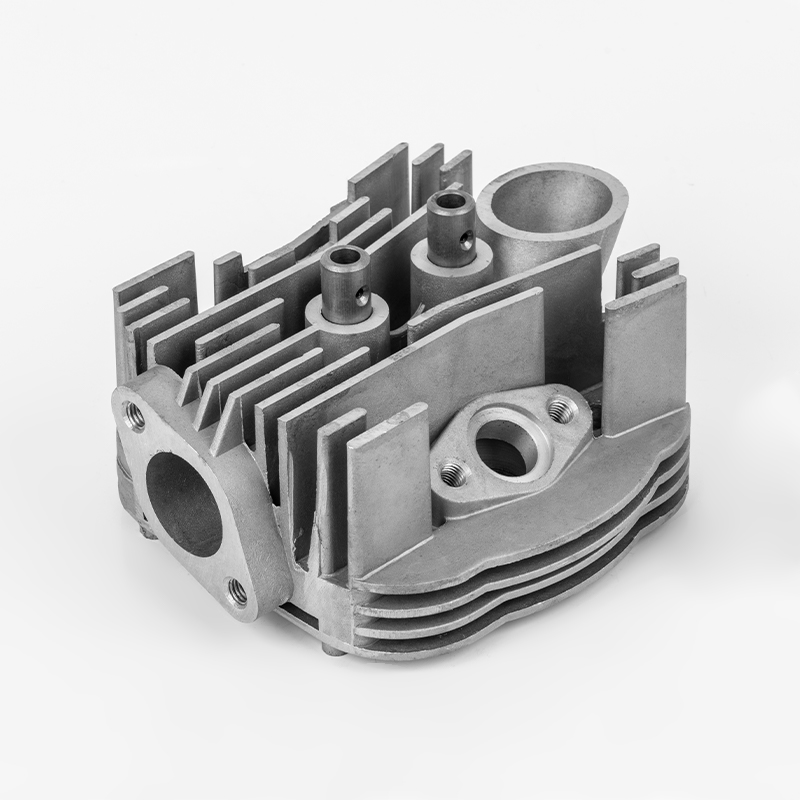
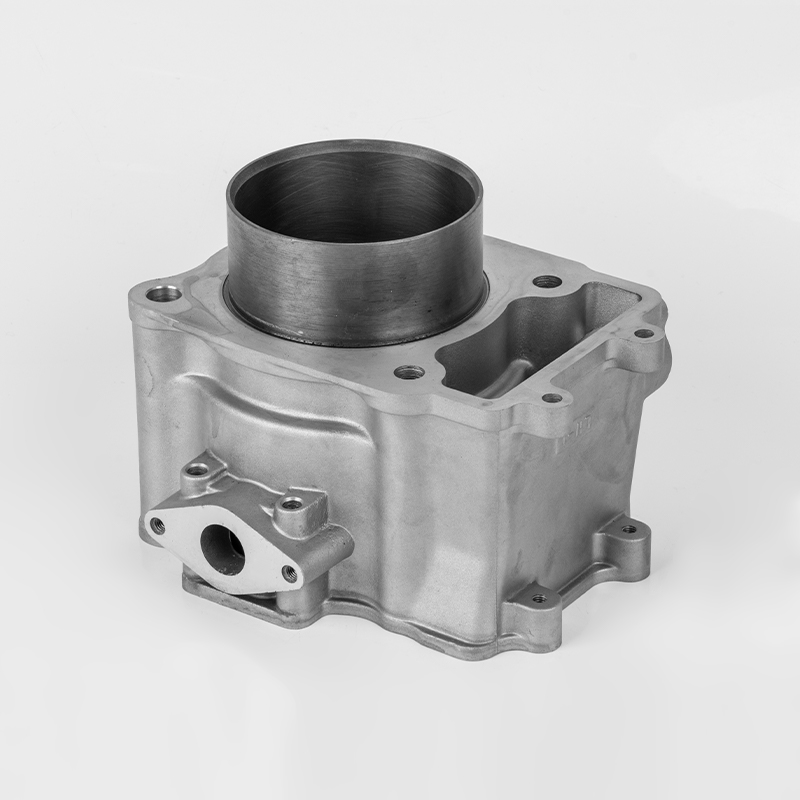
How the Motorcycle Cylinder Connects to Clutch Performance
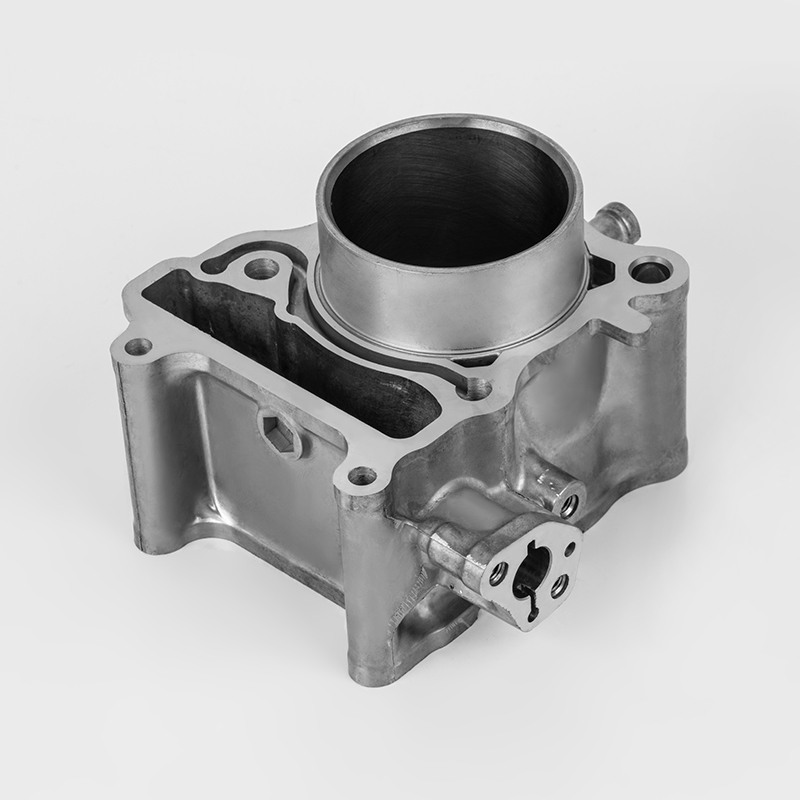
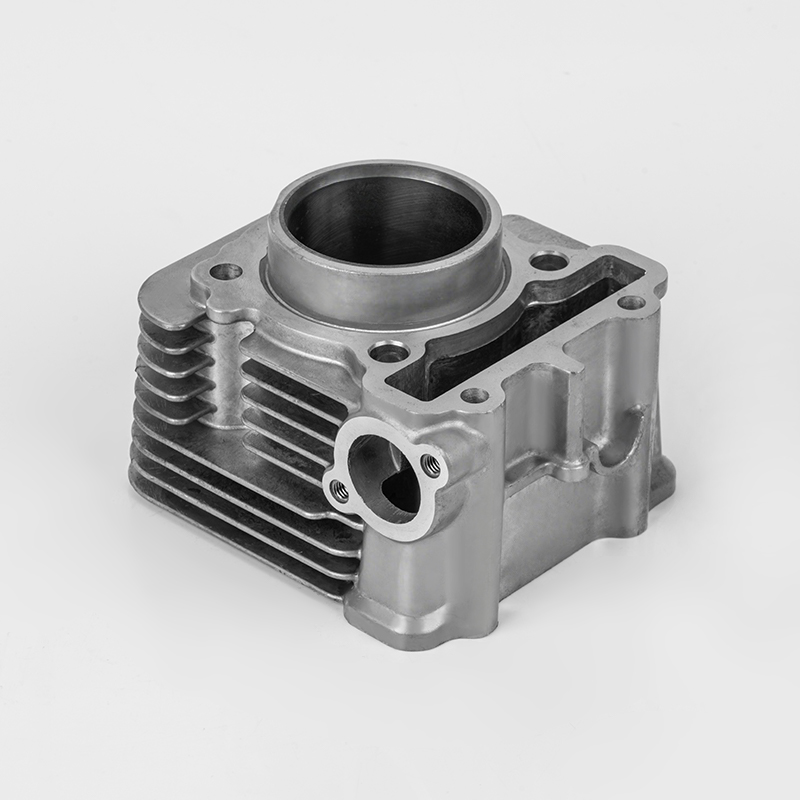
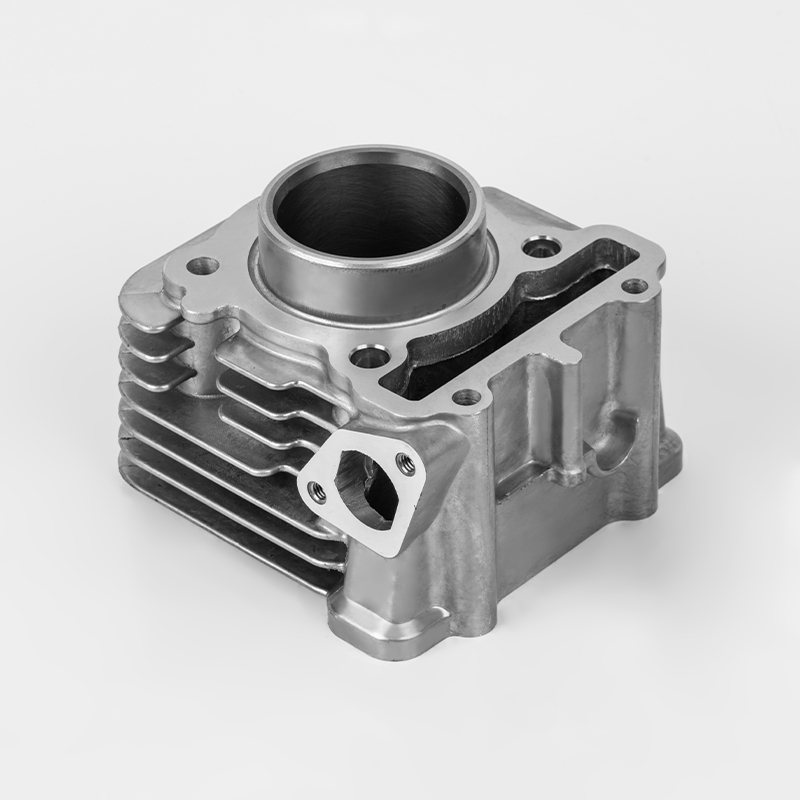
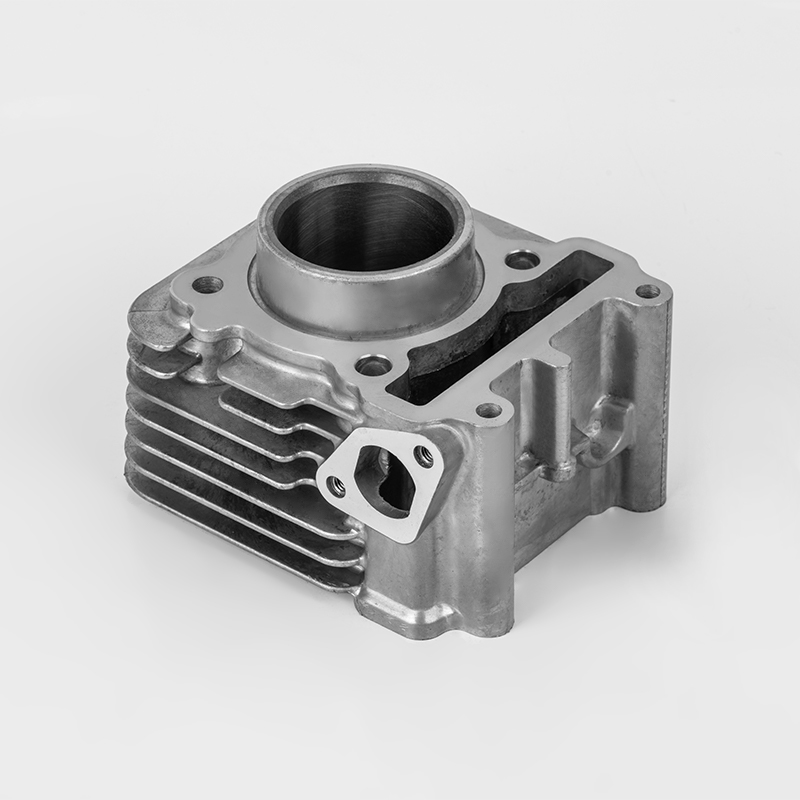
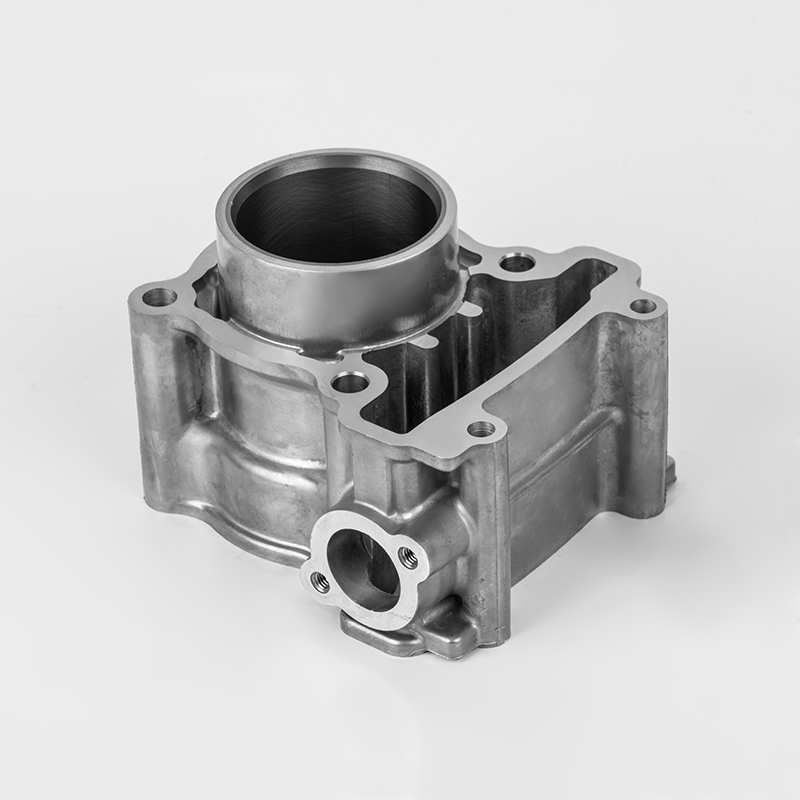
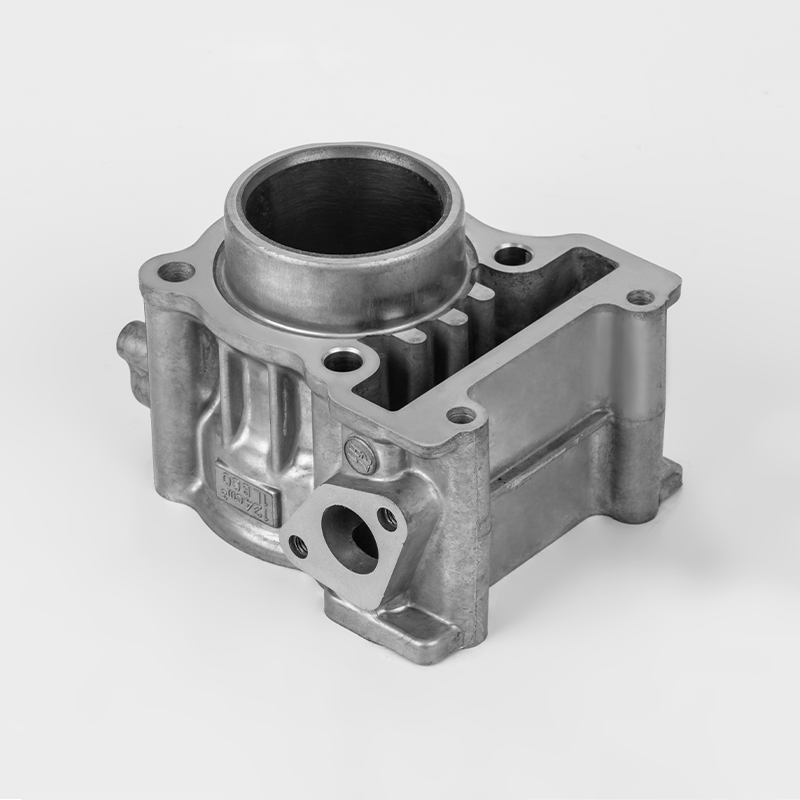
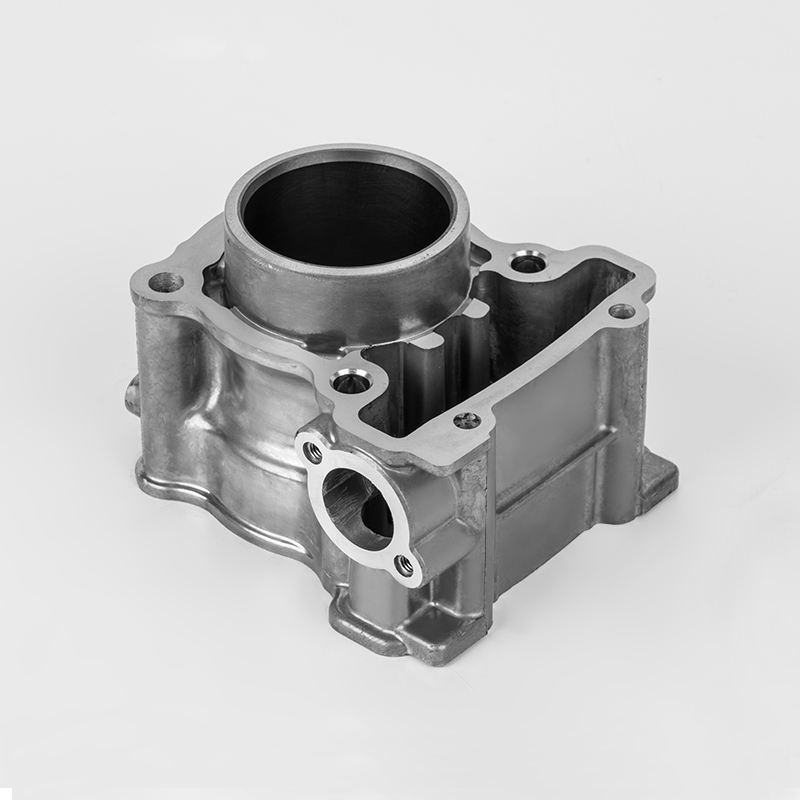
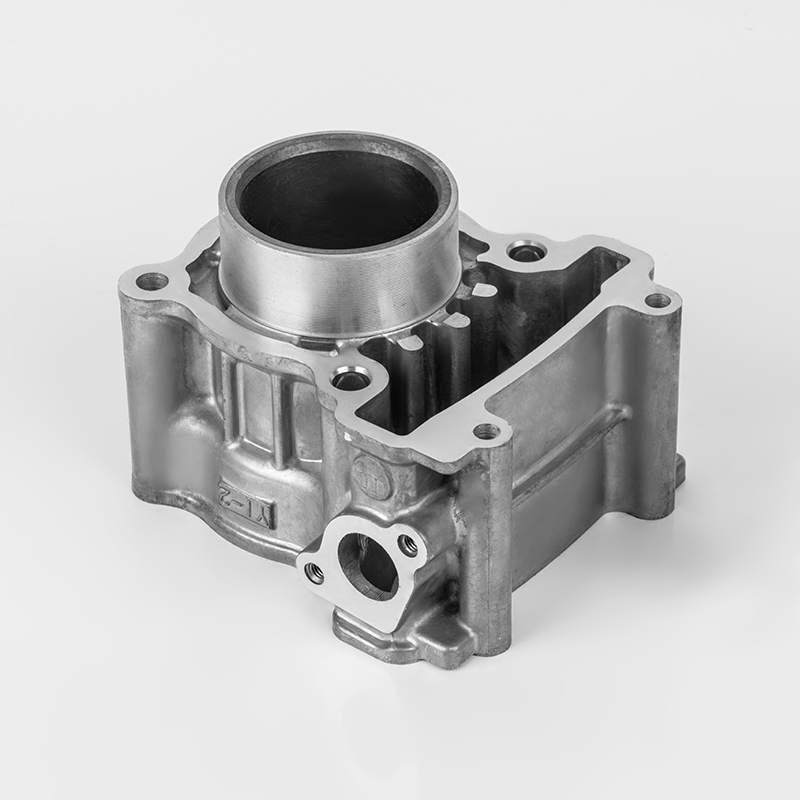
The motorcycle cylinder is the core of the engine's power production, and its condition directly influences how the clutch behaves under real-world riding conditions. When the cylinder and piston assembly are in good health, the engine produces smooth, even torque pulses that the clutch can manage cleanly. When cylinder health deteriorates, the power delivery becomes uneven, and even a perfectly adjusted clutch may feel inconsistent.
Worn motorcycle cylinder walls allow blowby — combustion gases leaking past the piston rings into the crankcase. This contaminates the engine oil with carbon particles and combustion byproducts. Since the clutch pack sits in the same oil supply on wet-clutch engines, contaminated oil affects friction plate performance directly. The friction plates may chatter, slip, or grab unpredictably despite correct lever adjustment.
A compression test on the motorcycle cylinder provides a quick diagnostic. Healthy cylinders typically read 150 to 200 psi depending on the engine design. A reading below 120 psi suggests ring or bore wear that may already be contaminating the oil. If you are chasing persistent clutch issues that do not respond to adjustment, a compression check on the motorcycle cylinder is a logical next diagnostic step.
The heat output from the motorcycle cylinder also affects clutch behavior. On air-cooled engines, prolonged low-speed riding in hot weather causes the engine cases to reach very high temperatures, which in turn heats the clutch basket and friction plates. Hot friction plates expand slightly, reducing clearances between plates and potentially causing clutch drag even when the cable adjustment is within specification. This is why some service manuals provide different free play specifications for hot versus cold engine states.
Common Clutch Adjustment Mistakes and How to Avoid Them
Ignoring the Engine-End Adjuster
Many riders only use the lever adjuster and run it to the end of its range without touching the engine-end adjuster. When the lever adjuster is maxed out, the cable sits at a non-ideal angle, increasing friction in the housing and causing inconsistent feel. Reset the lever adjuster to mid-range and take up the slack at the engine end for the best result.
Setting Too Little Free Play
Riders sometimes eliminate free play entirely, thinking a tighter cable means a more responsive clutch. In practice, zero free play means the clutch is never fully engaging, causing constant slipping and rapid friction plate wear. A clutch with no free play in a hot engine bay can begin slipping within minutes of aggressive riding, generating enough heat to discolor the friction plates permanently.
Not Rechecking After a Test Ride
Cable stretch is real. A newly adjusted cable may settle after its first few kilometers of use, increasing free play slightly. Always do a short test ride of at least 10 to 15 minutes, then recheck the free play and fine-tune if necessary. This is especially important on new cables or cables that have just been lubricated.
Forgetting Handlebar Position Effect
When the handlebars are turned to full lock in either direction, the cable routing changes length slightly. Check free play with the bars at center, then turn to full lock in both directions and confirm the lever free play does not change dramatically. If it becomes very tight at full lock, the cable is too short or routed poorly and can cause clutch drag in tight turns — a serious safety issue at low speeds.
Using the Wrong Oil After Clutch Work
If you have opened the clutch cover during inspection or internal adjustment, using oil with friction modifiers on reassembly is a serious mistake. Many automotive oils contain friction modifiers that cause wet clutch slip. Always use oil labeled MA or MA2 rated (JASO MA/MA2), which are specifically formulated to be compatible with wet clutches. This applies to the motorcycle cylinder's shared oil supply as well.

Clutch Adjustment Intervals: How Often Should You Check It
There is no single universal interval, but the following guidelines cover the majority of riding scenarios. Adjust more frequently if you do heavy stop-and-go commuting, track days, or off-road riding.
| Riding Type | Check Free Play | Lubricate Cable | Inspect Friction Plates |
|---|---|---|---|
| Casual/Weekend Riding | Every 3,000 km | Every 6,000 km | Every 20,000 km |
| Daily Commuting | Every 1,500 km | Every 3,000 km | Every 12,000 km |
| Track / Performance Riding | Before each session | Every 2 track days | Every 5,000 km |
| Off-Road / Enduro | Before each ride | Every ride | Every 5,000 km |
Signs That Adjustment Alone Is Not Enough
Sometimes clutch problems go beyond cable tension or free play. If you have correctly adjusted the clutch and symptoms persist, the following conditions may require internal work beyond a simple adjustment.
Worn Friction Plates
Friction plates have a minimum thickness specification. When worn below this threshold, they cannot transmit torque reliably regardless of cable adjustment. A worn friction plate stack also changes the geometry of the clutch pack, meaning the lever travel no longer corresponds correctly to engagement and disengagement positions. Friction plate thickness is measured with a vernier caliper. Most stock plates are 2.9 to 3.1 mm new, with a service limit around 2.6 mm — a difference that is invisible to the eye but significant in function.
Warped Steel Plates
The steel plates (also called drive plates) that interleave with friction plates can warp from heat exposure. A warped plate creates uneven clamping force across the clutch pack, causing judder and inconsistent engagement. This is often felt as a vibration or pulsing through the lever when releasing from a stop. Warping is checked by placing each plate on a flat surface and checking for gaps with a feeler gauge — any gap over 0.1 mm typically warrants replacement.
Weak or Broken Clutch Springs
Clutch springs provide the clamping force that holds the friction and steel plates together. Weak springs cannot generate enough clamping force, causing slip under hard acceleration. Most engines use four to six springs, and they should be replaced as a set when any one measures below the service limit. Spring free length is the key measurement — a spring compressed to below specification cannot generate the rated clamping force even when fully bolted down.
Motorcycle Cylinder Oil Contamination
As mentioned earlier, blowby from a worn motorcycle cylinder bore can contaminate the engine oil with combustion residue, altering its friction characteristics. If oil analysis reveals elevated carbon or silicon content — silicon being a marker of combustion gasses bypassing rings — the root cause is the motorcycle cylinder condition, not the clutch itself. In this scenario, even new friction plates will not perform correctly until the cylinder bore is reconditioned or the piston rings are replaced.
Adjusting the Clutch on Specific Motorcycle Types
Different motorcycle categories have different clutch setups, and the adjustment process varies in detail even if the underlying principles remain the same.
Sport Bikes
High-performance sport bikes often use a slipper clutch (also called a back-torque limiter). This design allows the clutch to partially slip during aggressive downshifting, preventing rear wheel lockup. The adjustment process for the lever and cable is identical to a standard wet clutch, but slipper clutch assemblies also have an internal cam mechanism that requires separate inspection. Free play on sport bikes is sometimes set tighter — around 1.5 to 2 mm — because the rider's hand position over the clip-on bars provides different leverage compared to standard bikes.
Cruisers and Touring Bikes
Larger displacement cruisers, particularly V-twin designs, often use a dry clutch or a cable-operated wet clutch with a relatively long lever pull. The motorcycle cylinder on these engines produces high torque at low RPM, which puts significant load on the clutch at low speeds. Free play specifications tend to be slightly larger — often 3 to 4 mm — to ensure full disengagement when the lever is pulled. Some older Harley-Davidson and Moto Guzzi models use a dry clutch that operates differently from wet clutch systems and has its own adjustment procedure at the clutch hub.
Dual-Sport and Adventure Bikes
These bikes are used across a wide range of conditions and often run both hydraulic and cable systems depending on the manufacturer. Adjustability at the lever is critical for off-road riding, where hand protection can alter effective lever reach. Adventure bikes that see a lot of low-speed technical terrain work their clutches hard — essentially using the lever as a throttle substitute for torque management. This demands very frequent free play checks and more regular friction plate inspection than road-only bikes of the same engine displacement.
Small-Displacement and Commuter Bikes
Bikes in the 125cc to 300cc range with smaller motorcycle cylinder bores typically have lighter clutch mechanisms that are forgiving of minor maladjustment. However, because these bikes are often used by newer riders in heavy urban traffic, the clutch sees an enormous number of engagement and disengagement cycles. Checking and adjusting clutch free play every 1,500 km is a practical standard for city-heavy commuters in this category.
Quick Reference: Clutch Adjustment Symptoms and Solutions
| Symptom | Likely Cause | Fix |
|---|---|---|
| Bike creeps with lever pulled in | Too much free play / clutch drag | Reduce free play at lever adjuster |
| Clutch slips under hard acceleration | Too little free play or worn plates | Increase free play; check plate thickness |
| Spongy lever feel | Air in hydraulic line | Bleed the hydraulic system |
| Stiff or heavy lever pull | Dry or frayed cable | Lubricate or replace cable |
| Clutch judder / vibration | Warped steel plates | Replace steel plates |
| Burning smell from engine area | Clutch slipping / overheating | Check free play; inspect friction plates |
| Persistent slip after adjustment | Contaminated oil from cylinder blowby | Compression test; check motorcycle cylinder condition |
Final Checks and Long-Term Clutch Care
After every adjustment session, run through the following final checks before considering the job complete:
- Confirm all locknuts are fully tightened — a loose locknut will allow the adjuster to creep out of position from vibration within a few kilometers
- Check that the cable is seated correctly in its housing and is not kinked or pinched by fairings or frame components
- Verify lever operation through the full steering range, checking for cable binding at lock-to-lock
- Check the engine oil level and condition — dirty or low oil directly affects wet clutch friction plate behavior
- If the engine has not had a recent oil change, change the oil before evaluating clutch behavior — old oil loses its friction characteristics and can mimic clutch adjustment problems
Long-term, the best thing a rider can do for clutch longevity is develop smooth engagement habits. Riding the clutch through slow-speed traffic — holding the lever at the friction zone for extended periods — is the single largest contributor to friction plate wear. When combined with a healthy motorcycle cylinder and clean oil, a correctly adjusted clutch on most modern bikes should last between 30,000 and 60,000 km before internal replacement becomes necessary.
Keep a small log of your adjustments — recording the date, odometer reading, and how many turns you made at the adjuster. Over time this data shows the rate of cable stretch and friction plate wear, giving you early warning that internal work is approaching. It takes thirty seconds to write down and can save hundreds of dollars in unexpected repair costs.